Score the spot before painting: remove silhouette, material, lighting, entry-angle, and time-cost weaknesses before chasing a perfect hue.
Last checked: 2026-07-10
Winning as a Hider is not about finding the darkest corner. Your camouflage must survive the angle a Seeker actually enters from. Treat every spot as a combination of surface, light, silhouette, approach angle, and finishing time. The official Steam screenshots below show the game’s varied rooms and paint play; they are visual references, not proof that one position is always safe. Community advice is most useful as a repeatable process, because furniture, players, and custom maps can change the search.
Score a spot before painting
Use this five-part spot score. Give each question 0 (poor), 1 (workable), or 2 (strong). This is a training checklist, not an official game statistic. Prefer a spot scoring 7 or more; abandon a low score early instead of trying to rescue it with perfect color.
A high score does not guarantee survival. It simply removes avoidable weaknesses. If a doorway exposes both sides of your body, score the entry angle low even when the wall color is excellent.
Run a prep-time route, not a painting marathon
Divide preparation by tasks rather than exact seconds, since settings and rounds may differ. First pass: move through two candidate areas and choose the higher spot score. Second pass: copy the largest color and material zones onto the body. Third pass: rotate into the final pose and cover exposed landmarks. Final pass: stop editing, check the likely entrance, and settle before the search begins. If you are still choosing a location during the third pass, use the nearest workable edge or clutter group instead of sprinting across open space.
Official Steam screenshot references
Read the room before committing
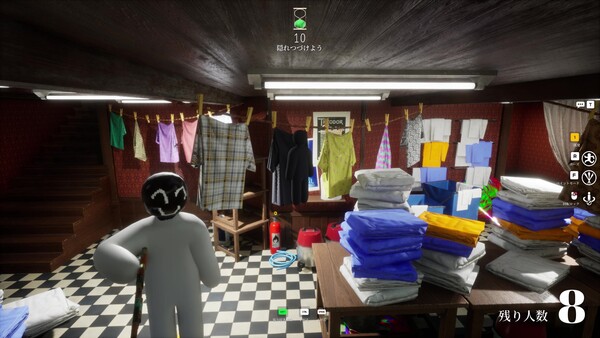
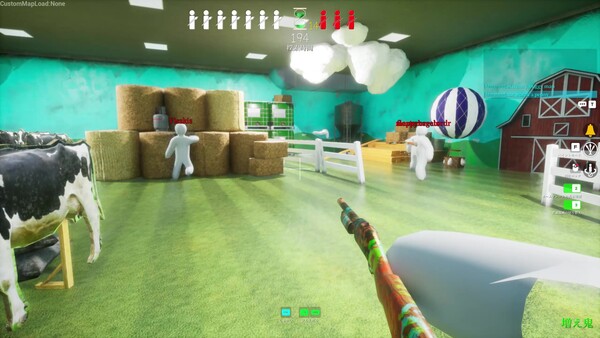
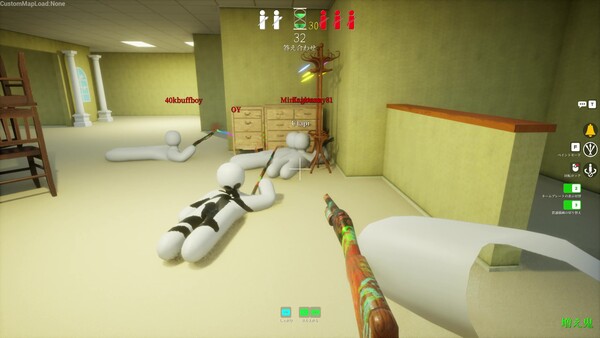
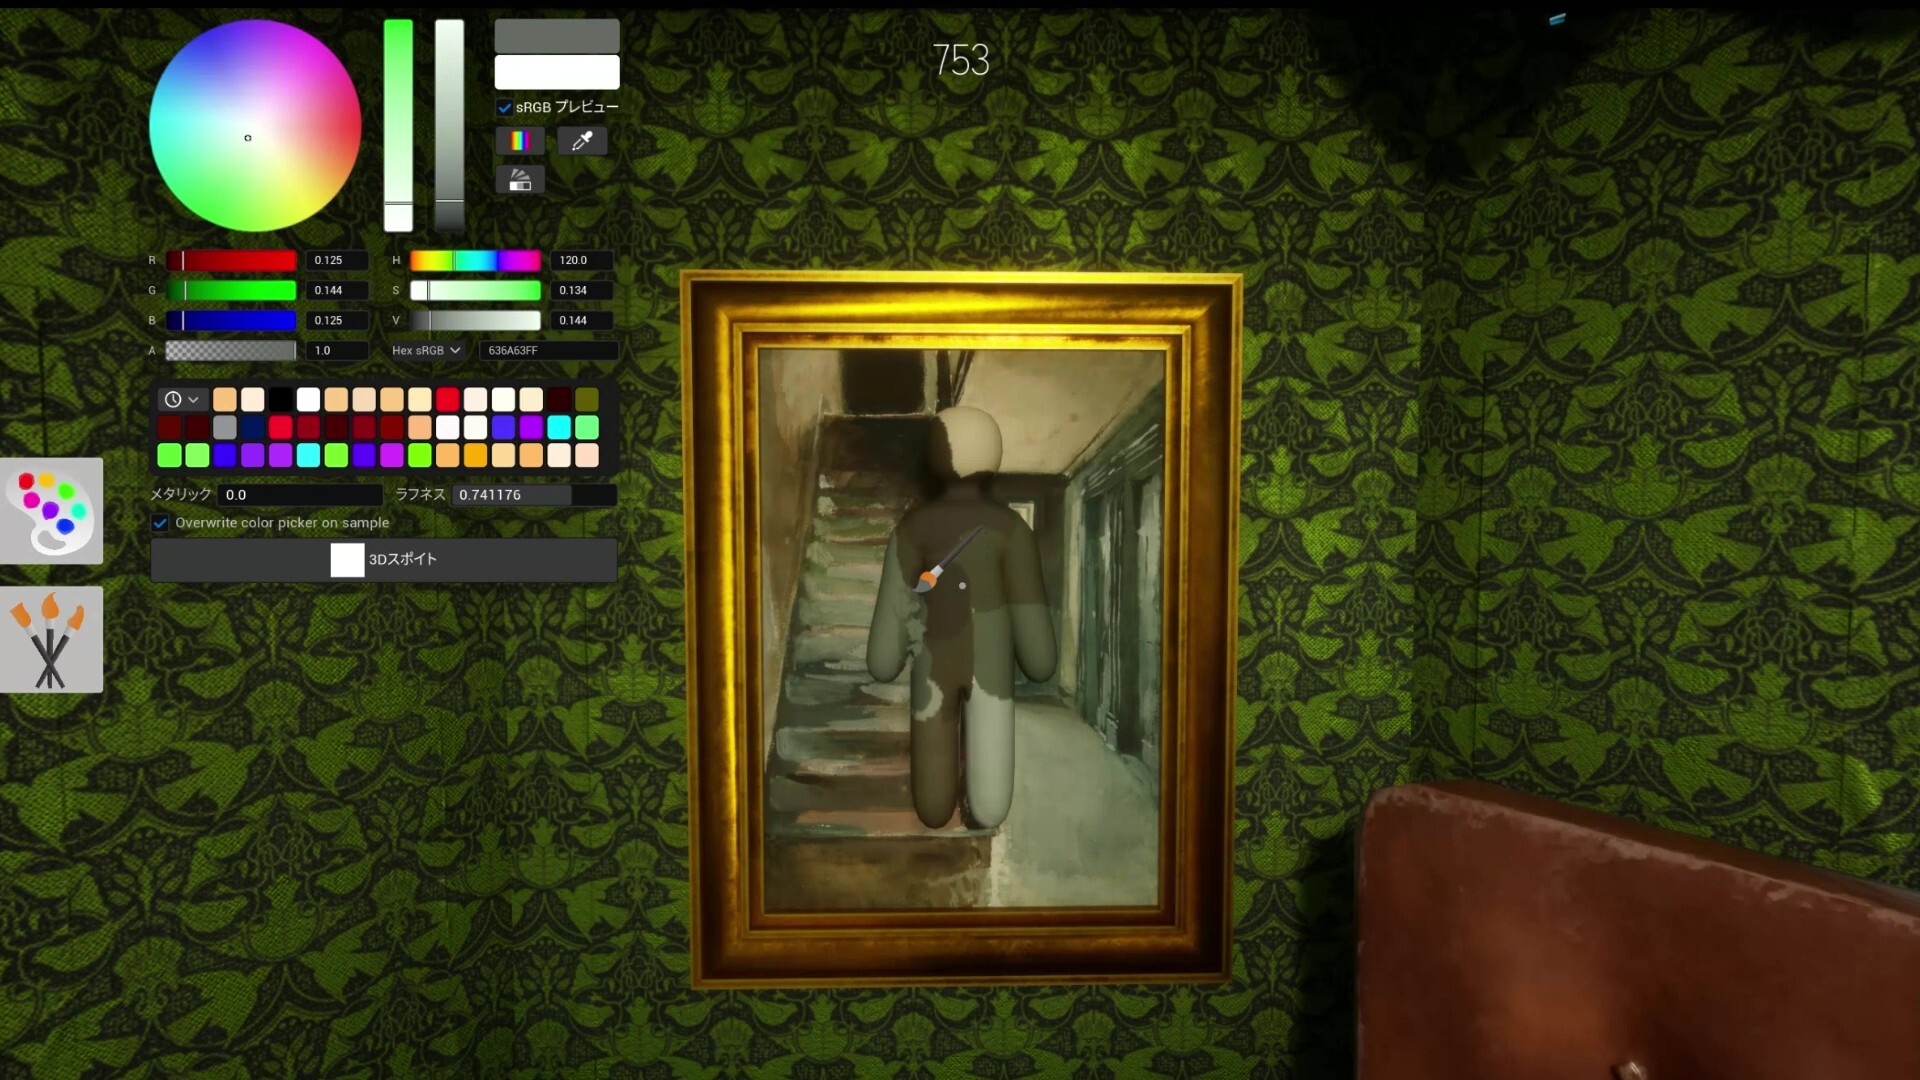
Make surface-specific decisions
Wallpaper or patterned walls: align limbs with repeated lines and borrow two or three large visual zones; do not attempt every tiny motif. Brick, concrete, or dusty surfaces: favor low apparent shine, then place joints over mortar lines, chips, or shadow breaks. Metal, pipes, or polished props: only commit if you can reproduce the broad brightness and reflective character; a correct hue with the wrong highlight is fragile. Carpet or floor: use furniture shadow or a border to hide your full-body contour, because an isolated body on open flooring is readable from above. Shelves and prop clusters: fill an existing gap rather than blocking a clean negative space. Deep shadow: match nearby shadow brightness, but keep the silhouette behind an object edge; darkness alone does not erase shoulders or feet.
Bad vs Better
Bad
- Stand centered on a blank wall because the RGB looks close.
- Face the doorway with both shoulders fully visible.
- Paint one flat value across every body part.
- Keep rotating after the search begins to inspect your work.
Better
- Move to a wall edge, shelf, pipe, or patterned break.
- Turn your narrow profile toward the main approach.
- Match broad light and material zones before small color details.
- Choose a final pose early and remain visually quiet.
Diagnose why you were found
Do not label every loss “bad color.” Review the first clue the Seeker could have seen. Shot immediately on entry: your outline or location was predictable; change the edge and approach angle. Seeker paused, changed angle, then shot: a material highlight, exposed limb, or depth gap probably confirmed suspicion. Found after others: the room may have been cleared methodically; choose a less obvious route or a spot that survives a second viewing. Found when you adjusted: movement was the clue; finish earlier. Repeatedly found on one surface family: practice that material separately or stop selecting it until your paint workflow improves. If possible, ask the Seeker what they noticed—use the answer as evidence, not a universal rule.
If the first clue is still unclear, use the interactive Why was I spotted? diagnosis and test only one correction in the next round.
Three-level practice plan
- Level 1 — Stable camouflage: use walls and furniture edges only. Score every candidate, finish broad paint zones, and hold one pose. Your goal is to identify whether outline, brightness, or movement caused each loss.
- Level 2 — Material control: alternate rough, patterned, and polished areas. Before hiding, state aloud which visual property matters most. Afterward, compare your prediction with what the Seeker reports.
- Level 3 — Route adaptation: enter unfamiliar or Workshop rooms, inspect two candidates, and commit without returning to the first. Practice selecting a safe fallback when the ideal spot costs too much preparation time.